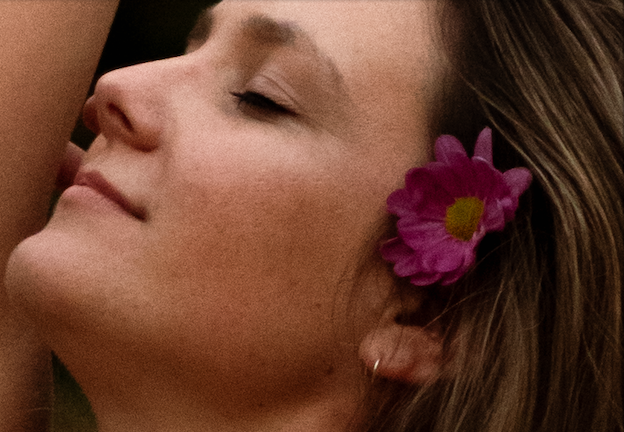
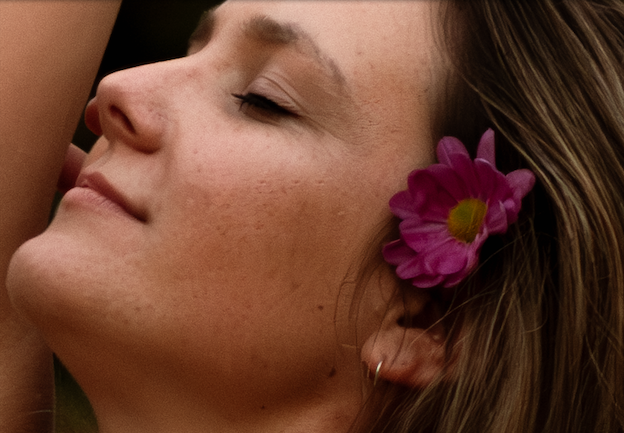
Stop Editing Blindly: Why Lightroom AI Presets are your New Must-Have
Lightroom has just changed the game, adding several new AI features that speed up the editing process 10-fold! Let’s explore these together and how they are the new must-have features to make your editing process seamless and effortless.
This post is written by AI4U.
Generative Remove:
Generative remove is game-changing! Going from Photoshop to Lightroom can be a pain. If you ever need to just remove something small, it can be an annoying task to add onto your editing process. Not anymore! Everything can be done in the comfort of Lightroom.
Ever had a distracting object in the background of your photo? Now with a single click of a button you can generative remove an object from your photo! No more painstaking masking or erasing. Everything is now at the tip of your finger tips!
Check out this amazing photo I took of my friend. Annoyingly there was this distracting white object in the background, and before I updated Lightroom, I couldn’t spot heal the distracting element without it looking distorted within Lightroom - so annoying!
Now that I have updated my Lightroom, I can simply apply generative remove, and it seamlessly will
Generative remove uses AI to look at the surrounding environment and will change the image to fill in that spot with similar surroundings, blending in seamlessly with the original image. This new feature is a must-have to add to your editing process! No more Photoshop annoyances!
Lens Blur:
Do you ever find that you just need a little bit more blur? Maybe you needed to shoot at a higher aperture because you were shooting a big group of people, but you still want that creamy looking background blur? No worries! Now with the new AI feature Lens Blur, you can make any picture have more bokeh than ever before! You can even change the Bokeh style which I think is my favourite part!
There are five different options to change them to; circle, bubble, 5-blade, ring, and cat eye. These are gorgeous effects that you can only produce on certain lenses, so the fact you can now use this on any image you have is amazing!
Here are the different looks you can do below! The first image is what it looked like before I applied Lens Blur. Personally, I think the cat-eye look is my favourite!
AI-powered Denoise:
Now there was a denoise feature before in lightroom, which is fantastic, but this AI-powered denoise takes it a step further! With the traditional denoise, its more a game of trial and error, changing sliders and finding the right fit between luminance, colour, detail, and smoothness. With the new AI denoise, it automatically scans your picture and will apply denoise while maintaining the most amount of detail and sharpness. This is especially good for higher ISO photos, as the AI knows how to get the best image while maintaining quality.
I was so shocked at just how well this performs over the manual denoise function. I took the photo on the right in really low light conditions, it was a hard shoot with fading light very quickly. You can see in the images below how much the AI denoise does to get rid of unwanted noise, while still maintaining a really sharp picture!
Before AI Denoise
After AI Denoise
Adaptive Masking:
This is a game-changer for anyone who has to bulk edit photos for a client, but a simple preset just won’t cut it.
Introducing AI adaptive masking! This allows you to mask your subject and apply specific effects to them alone! It perfectly outlines and masks your subject using AI. There is options to select subject, select sky, select background, and select people. Previously before this update, I spent lots of time using the brush tool to mask my subject, and it was never clean, and definitely never time effective! This is a game-changer for portrait photographers in particular, and landscape photographers. It has never been easier to make changes. Not only this, but once you do this to one photo, you can copy and paste the AI masks onto your other photos and it will automatically detect the subject and sky in your new image and apply the same mask - game-changer for bulk editing portrait photos!
Now I wanted to first show you what my edit was on another photo without a subject mask, and then with a subject mask.
Now here is the real magic and why I am so obsessed with these masks. I always heavily edit with masks, so being able to copy and paste a whole edit AND AI masks is a game-changer for me. Look at this other photo I got in the same location with a different pose. I am showing you the raw out of camera shot here, and pasting both the edit and mask subject preset onto the new image. This is with ZERO changes to the image. I have simply copied the above after shot with AI adaptive masks, and put that onto the new photo! Honestly, this barely needs any changes if any! Incredible stuff!
Adaptive Presets:
Saving the best for last! Actually mind blown! These are amazing and simple to use! There is so many adaptive presets that will whiten teeth, texture hair, enhance eyes, enhance portrait. Like what?!?! Actually freaking out because it is amazing! This isn’t a replacement to colour-grading, but it does help get those polished final touches on your photos! Enhancing eyes and texturing hair is ones I use most often!
Check out the before and after of using these adaptive presets below. It’s kinda like the cherry on top of the cake!
Conclusion: Unleash Your Inner Editing Whiz with Adaptive Presets
Now that I’ve used these, I feel like I can’t live without them! There is no shame in needing a bit of help from your trust AI friend! These adaptive presets and features are a game-changer for photographers of all levels. No more needing to spend hours editing every single photo with adaptive presets! Simply copy and pasting onto your other photos will bring along all those beautiful AI enhancements you did on the previous photo.
This saves you so much time and frustration, allowing you to focus on the creative aspects of editing - what we’d all rather do! Whether you're a seasoned pro or just starting your editing journey, adaptive presets can elevate your photos and unlock their full potential.
So, ditch the guesswork and embrace the power of AI. Start experimenting with adaptive presets in Lightroom and discover a whole new world of effortless, exceptional photo editing. Happy editing!
If you want all the latest AI news and updates, AI4U’s blog has lots of information on different aspects of AI in the new and evolving world!


