
How to Make your Macro/Closeup Nature Photography Stand Out!
Macro Nature Photography is one of the most elegant styles of photography. But in such a saturated field, how do you make your Macros stand out from the crowd?
1. Change up your Perspective!

High Perspective to Show Off Petals

Low Angle to Show More Bokeh
Shooting many different perspectives is a classic photography method that can really help your photos look incredible.
I am constantly trying new perspectives, low, mid and high angles, different compositions, etc.
It is easy to get stuck in the one headspace of what is a good photo according to Instagram, or even the trends you see with other photographers– but once you begin experimenting, you can create something even more beautiful. One of the things I love doing is trying lower angles with my macros, revealing more of the sky and bokeh into the background. This creates an airy and dreamy feel for my images which I love.
On the other side of the coin, getting above your subject can be just as interesting – honing in on the finer details. This perspective can show more of the details in the petals and leaves, and can help cancel out some distractions the background may have had from a different perspective.
When you go out to shoot, try as many different angles and compositions as possible and see which one is the most flattering! This will really help your nature photography!

Mid-level Perspective with Clean Background

High Perspective Showing More Foliage
2. Highlight your Subject
This can be done a few different ways;
Vignettes:
Vignettes help drown out the distractions and hone in on your subject, it may only need to be subtle, but it helps draw a person in.

Without Vignette

With Vignette
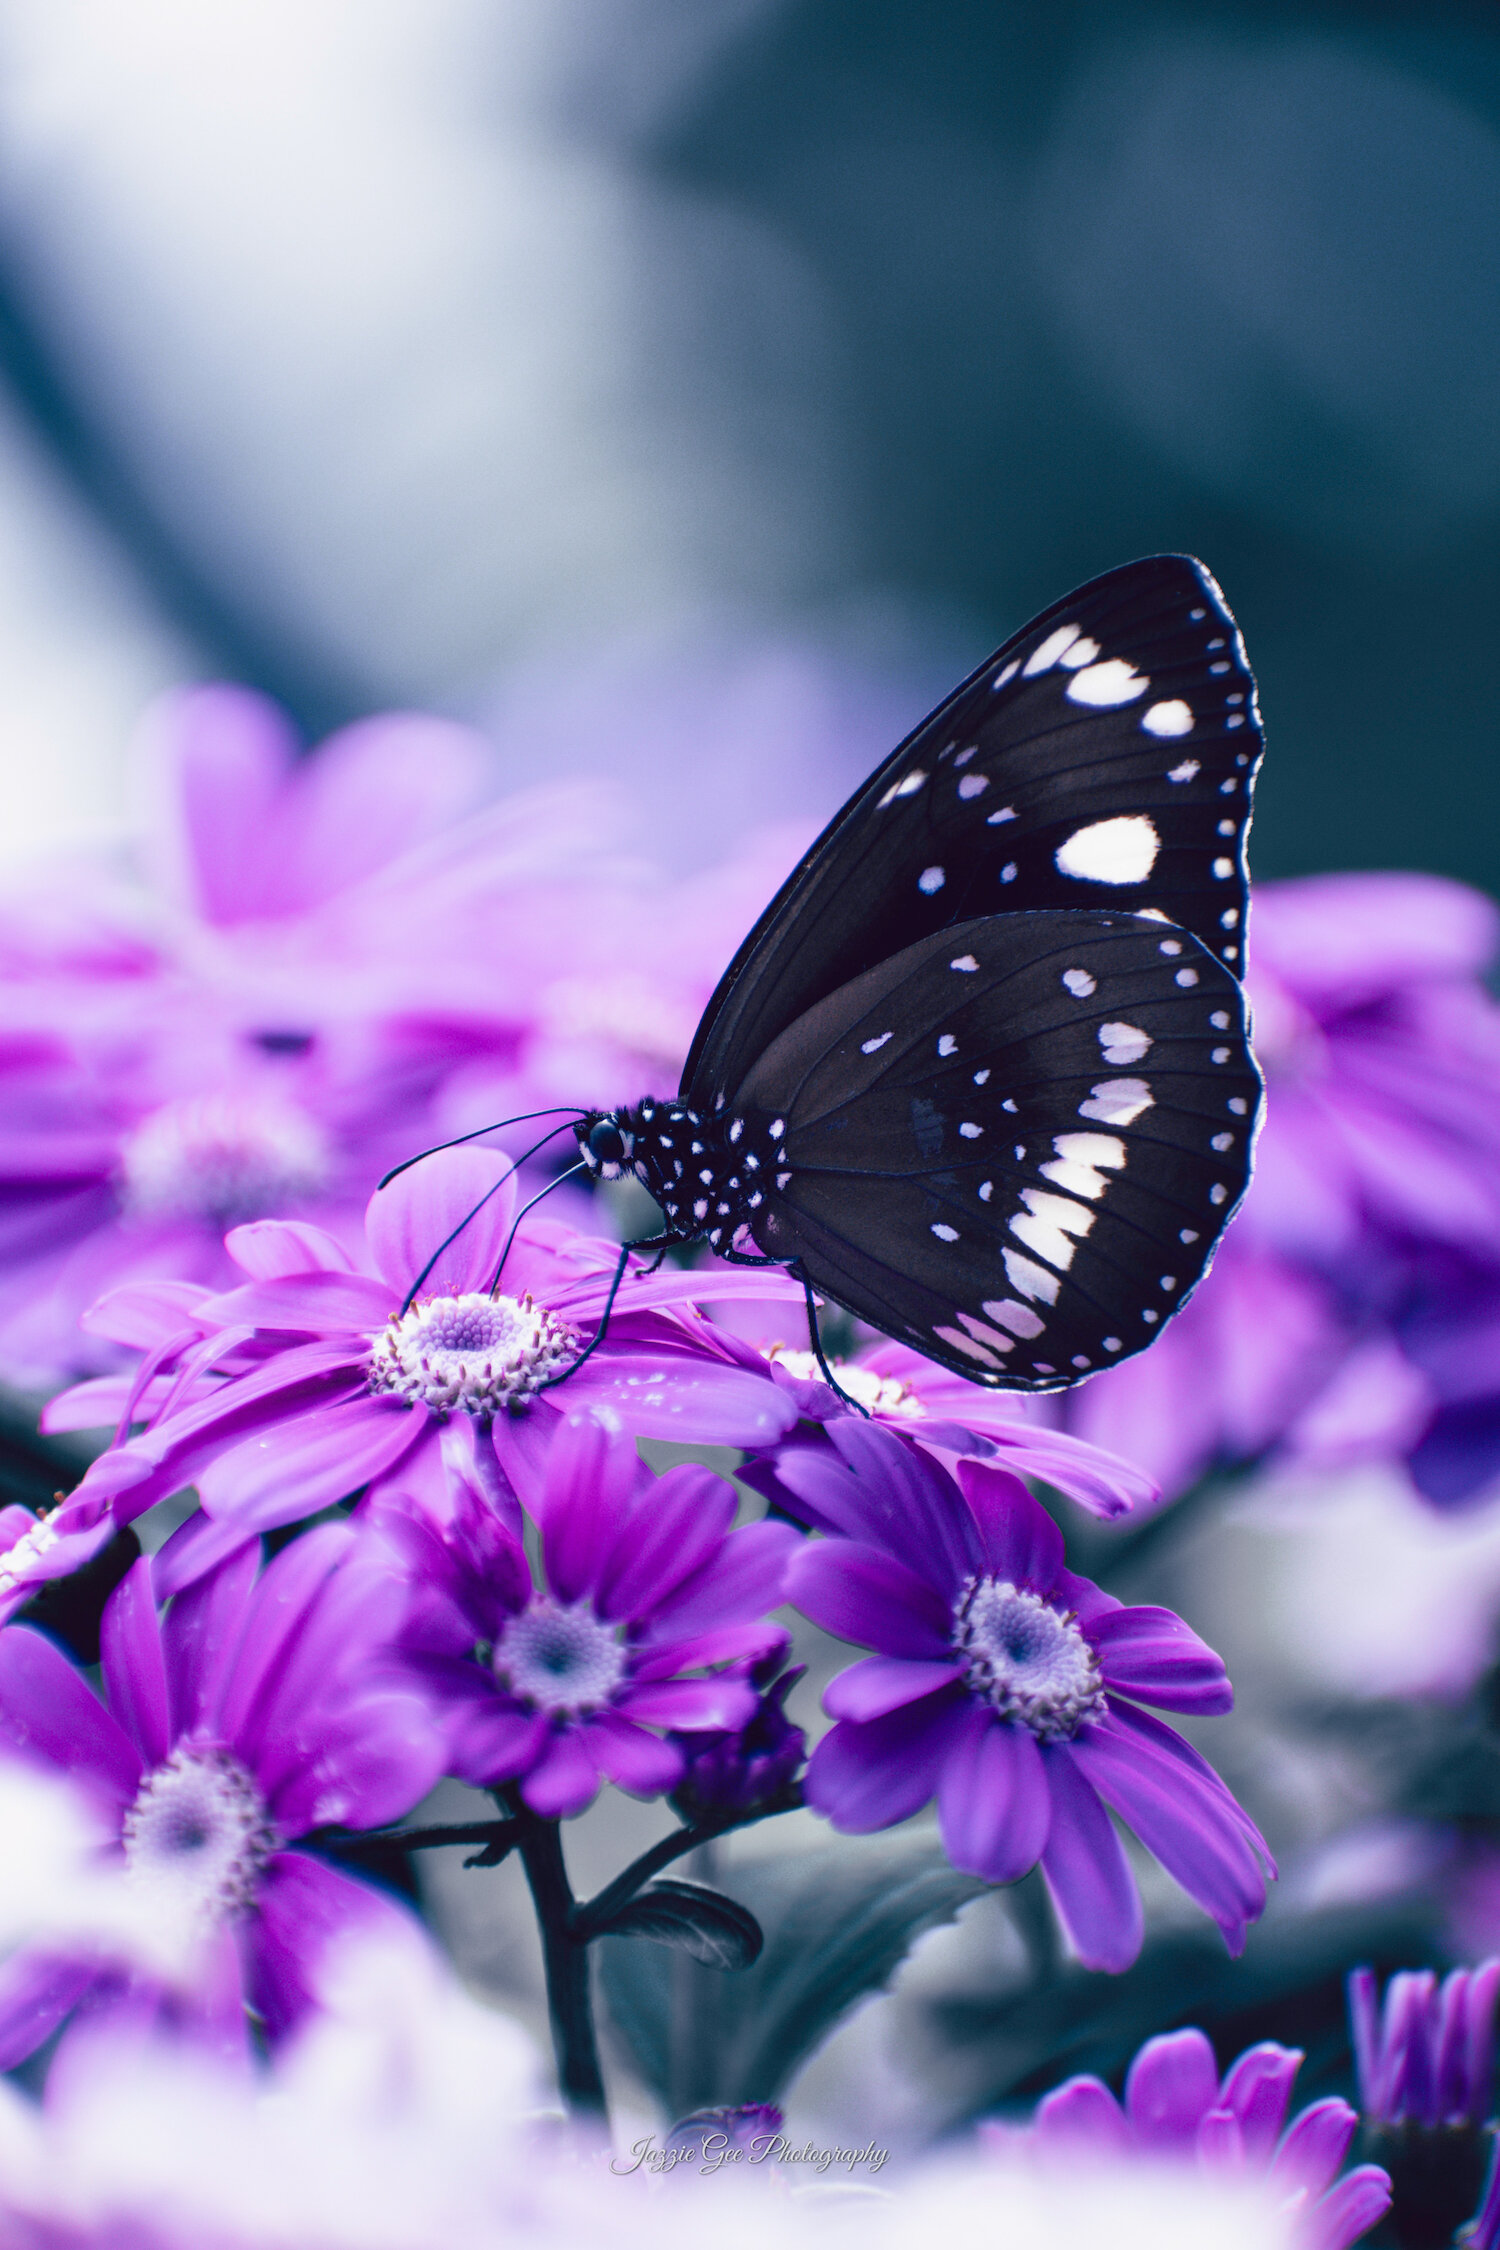
Subtle Edge Blur:
I’ve seen many macro photographers use this, including one of my favourites Qimasse. This helps to further blur out any distractions, creates a magical dreamy feel, and draws attention to the main subject by essentially creating more depth of field.

No Blur

Subtle Edge Blur
I used it in the above images, and while its subtle, it just blurs out that branch in the background and helps refocus the attention onto the beautiful bird.
Remove Distractions:
There has been a couple instances where there have been significantly distracting elements captured in the photo that couldn’t be removed while taking the photo. Simple solution? Remove them in post! I often either change its colour to match the background colour to remove the distraction like shown below.

Has Obvious Petal Distractions in the Background
Distractions Removed With Change of Background Colour
In this example I desaturated the colour of the blurred pink flower in the background to match my desaturated background already, and this helped blend it in. Before it was a very noticeable distraction, but taking away its powerful colour helped put focus onto my main subject, the flower.
Another way I do this is by going into photoshop and using the Clone Stamp and Spot Healing tool to get rid of any distractions. These are just a couple of things I like to do to clean up my photos if I feel they need it. I personally feel it advances the quality of the photo and its overall appearance.
3. Shoot on a Cloudy Day

Harsh Sunlight
Cloudy Day
The best time to shoot for macro nature photography is on a bright overcast day, for it diffuses the light naturally and you aren’t compromising on quality by turning up that ISO!
For macros, this helps enormously. On sunnier days, it creates really harsh shadows, making it harder to take a nice and evenly lit photo. This could potentially create harsh shadows on your point of interest or focus, taking away from it.
Shooting when its overcast and cloudy is seen as basically the best time to shoot in for macro above all else. I’ve tried shooting macros in harsh sunlight, and cloudy day, and here you can see the difference between the two. This is a small easy change, but necessary for top tier macros!

Texture of Vine
4. Focus on Textures
Sometimes it doesn’t have to be all about capturing the flowers, I love getting up close and personal to my subject; focusing on the textures of the leaves, vines, raindrops, or petals themselves as they make fantastic subjects.
Part of what makes macro photography so popular is because we are highlighting the beauty of the world people don’t see every day. I mean it’s not often we stuff our faces into leaves and flowers while out on a walk 😂
Focusing on these details brings them into the spotlight for people to see, admire, and observe, making for an incredible photograph.

Petal Textures

Leaf Texture
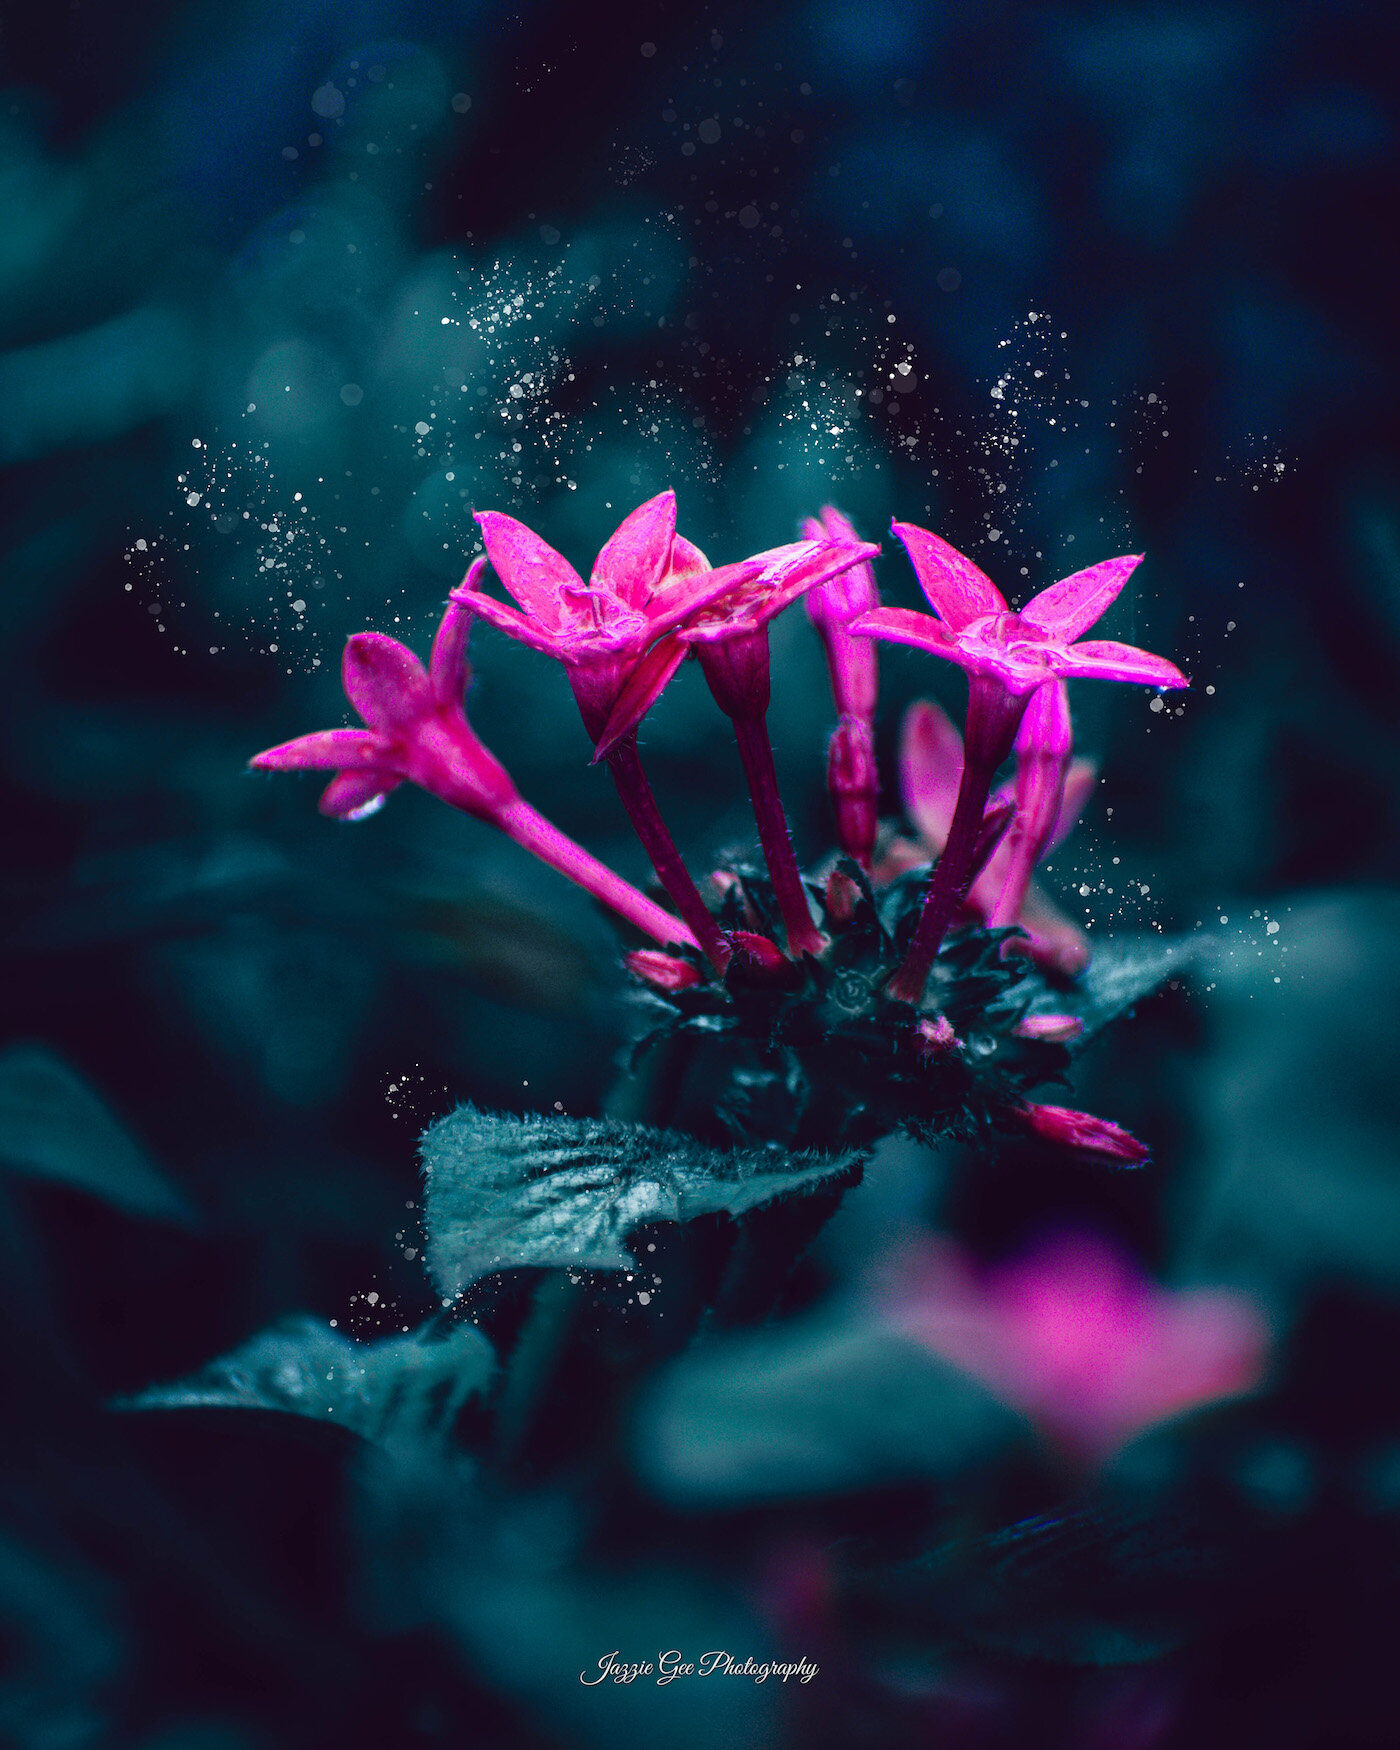
5. Shoot After Rain or Add Water Drops
Shooting after rain is one of the most glorious times to capture some macros. The water droplets add another layer of magic to the already beautiful flora and fauna scene. The little beads of water are just incredible and can also reflect little glimmers of light! How gorgeous! This also is something a person doesn’t get to see every day, so the magic is endless!


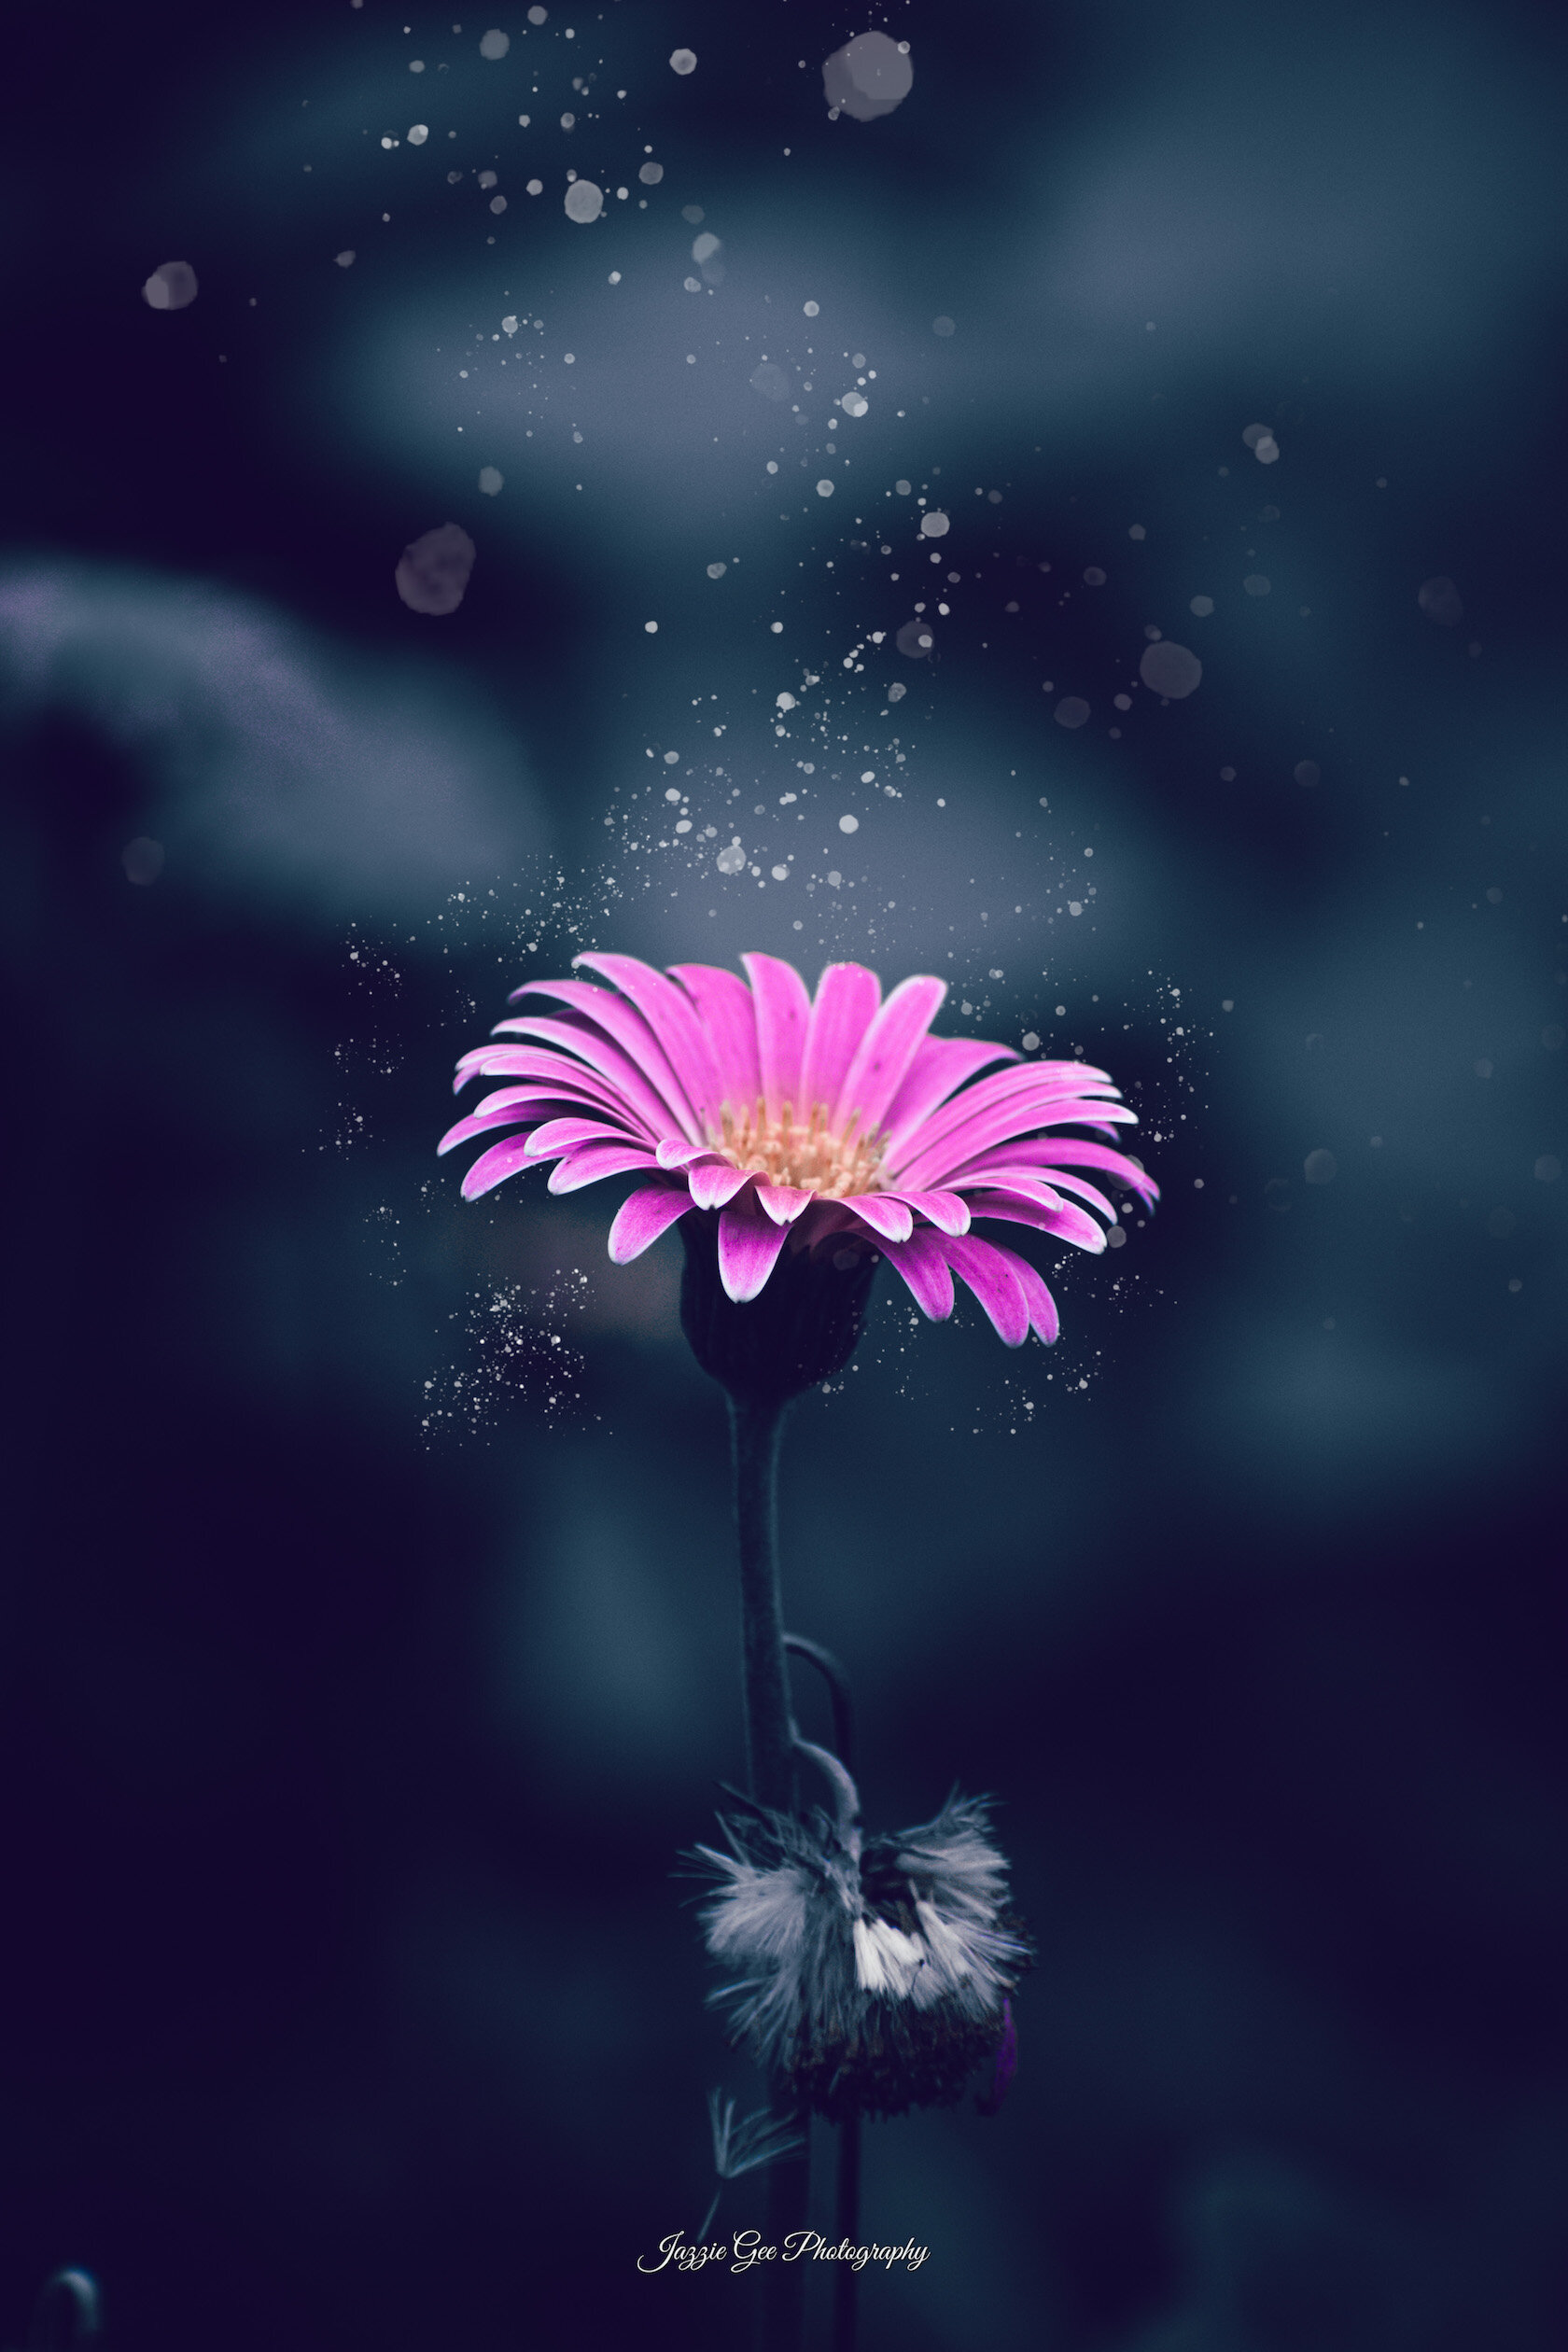
6. Add Some Magic!
This is something I occasionally do to my photos and just love the results! I go into photoshop and add with a paint brush splatter tool some little sparkles. I adjust the size of my brush and create many variations of sparkles all around my subject.
It makes the photos go from a 7 to a 10 just like that. It just adds to that magical feeling you get from nature and creates what feels like movement in the photo which adds another layer of depth to the image itself!
This is completely optional, but I adore this style of macro nature photography, and feel it really creates an incredible scene.


7. Don’t be Afraid to Change up the Colours!
With almost all of my macros, I change up the colours to create that fantasy look. In the beginning of my nature photography journey, I was always afraid of over-editing and over doing it; but came to realise that editing is a form of artistic expression, and really you can do whatever you want!
One technique I love and do often is make my greens cold and desaturated to make the colour of my flower stand out. I absolutely love this cold and darker style and feel like it helped accentuate my photos.
Sometimes I change the colour of a flower entirely from purple to blue! It all just depends on what I feel would work best for the photo.


These are just a few tips to get you started in creating more unique nature photos! Comment down below and let me know if you found this helpful! Be sure to check out my other blogs on composition if you want to fast-track your success! Click here.
Happy Shooting!